
1.サーバー(Ubuntu)でのポート開放
先に解説したTeraTerm等を使ったサーバー接続画面から
以下の2つのコマンドを入力します(コピーして使用してください)
sudo sed -i '16i -A INPUT -p udp --dport 19132 -j ACCEPT' /etc/iptables/rules.v4
sudo reboot
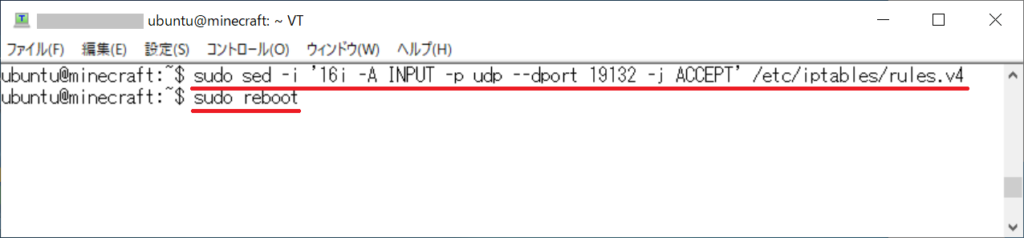
以上で完了です。
画面が閉じられ、サーバーが再起動します。
2.サーバー(OCI)でのポート開放
未サインイン時は、始めに【こちら】からOCIのサイトに入りサインインします。
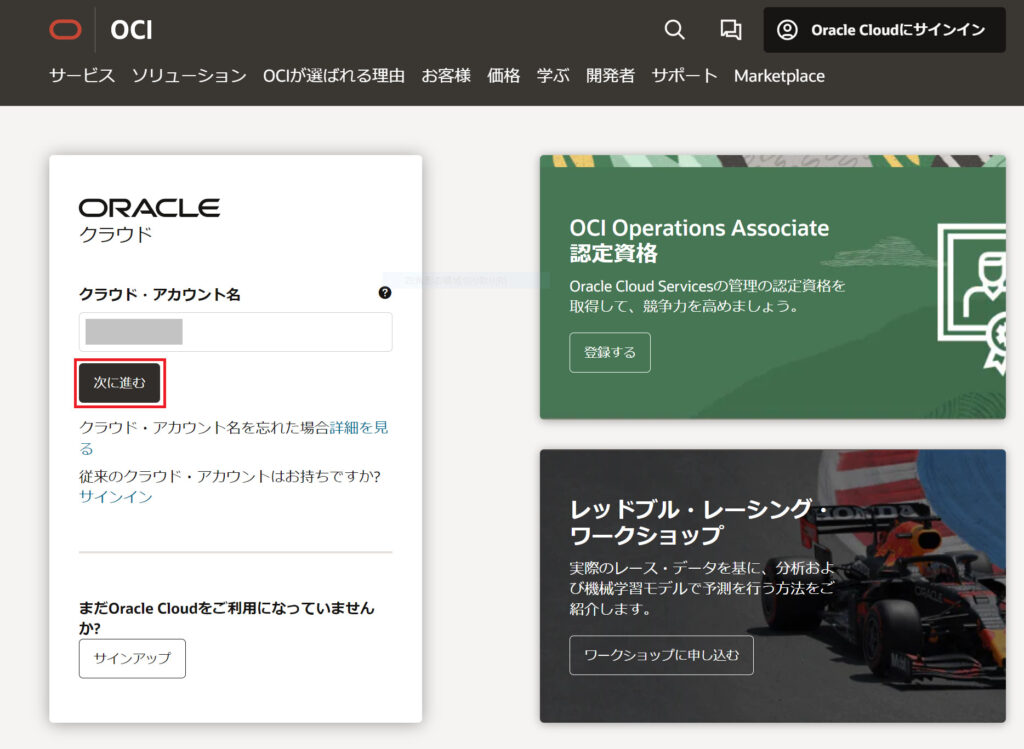
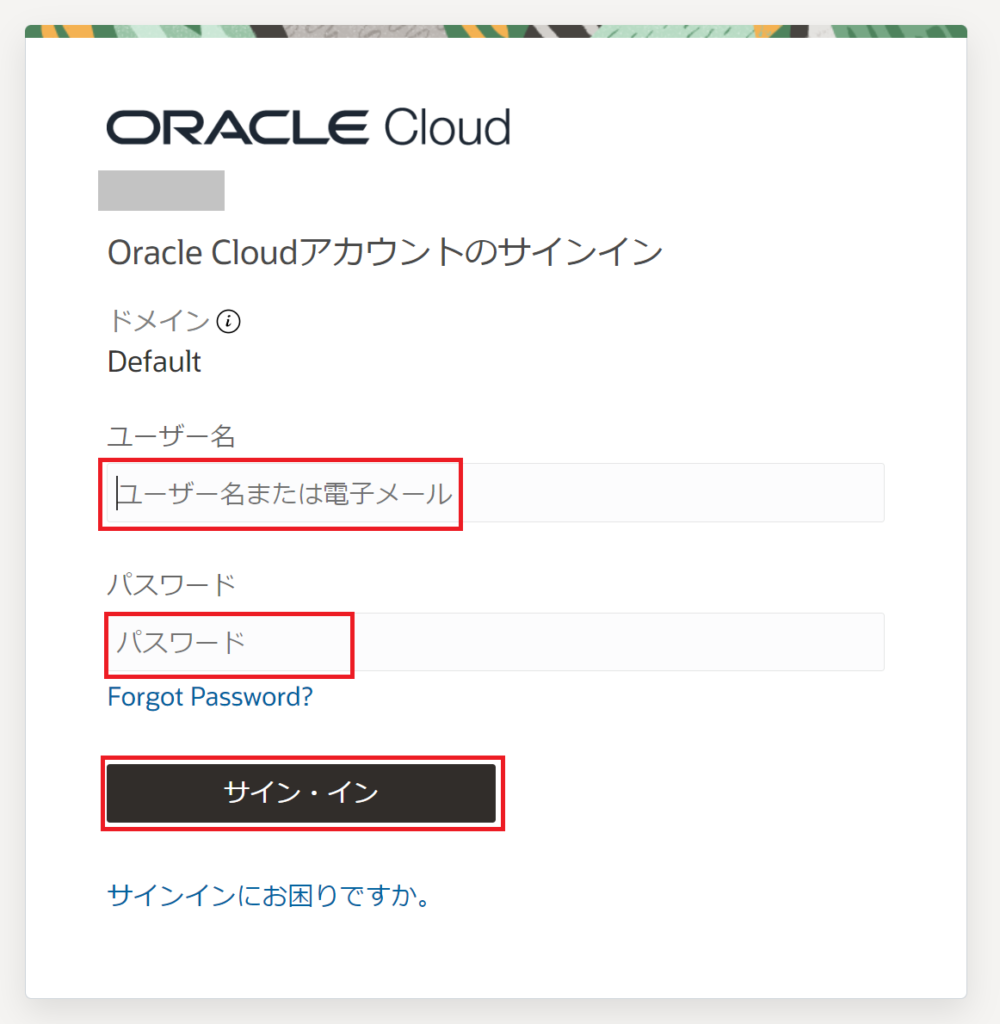
「次に進む」選択でサインイン画面に遷移するので、無料トライアル申請で作成したユーザー名とパスワードを入力します。
サインイン後、以下の手順に沿ってサーバー(OCI)のポート開放を行ないます。
ポート開放手順
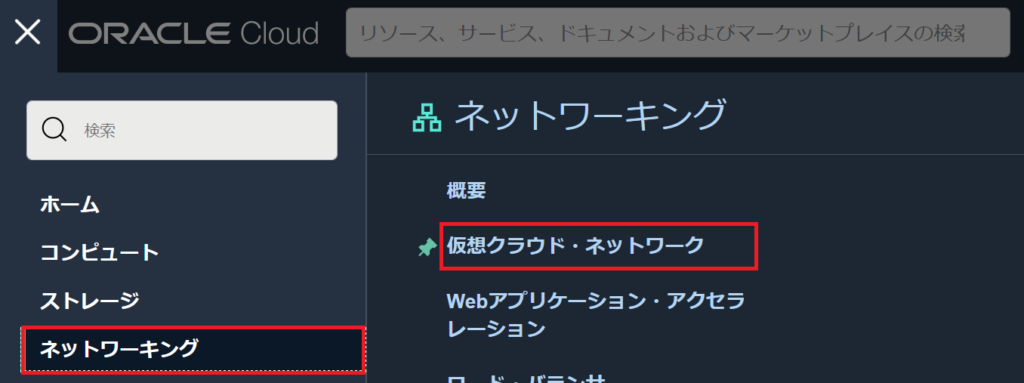
トップメニューから
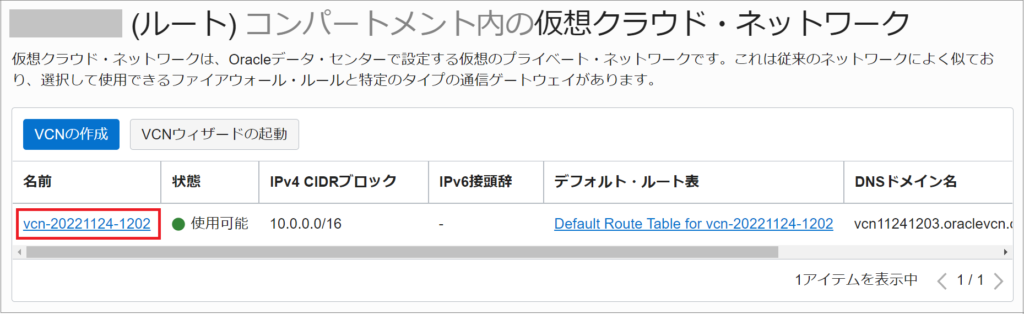
ネットワーキング>「仮想クラウド・ネットワーク」をクリックします。
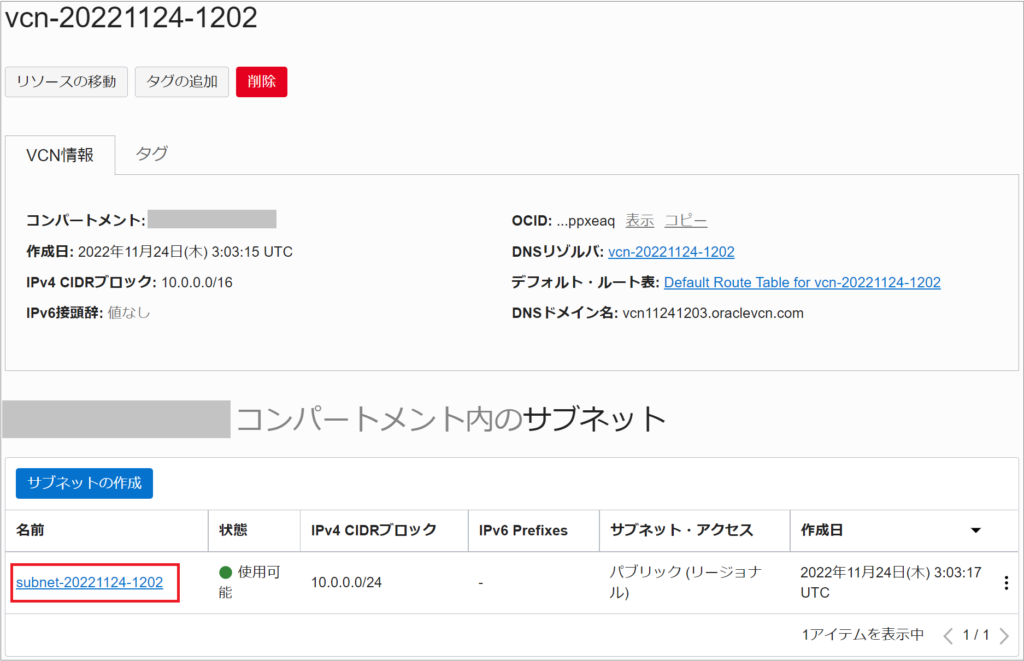
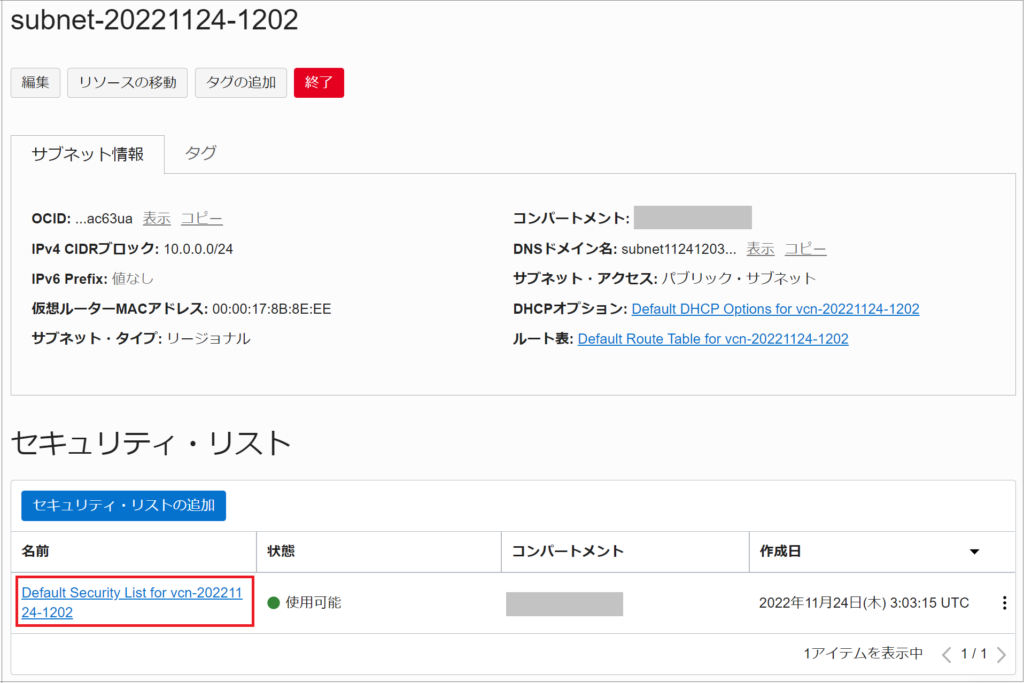
下の赤枠のところをクリックし画面を進めて行きます。
「イングレス・ルールの追加」ボタンを押下します。
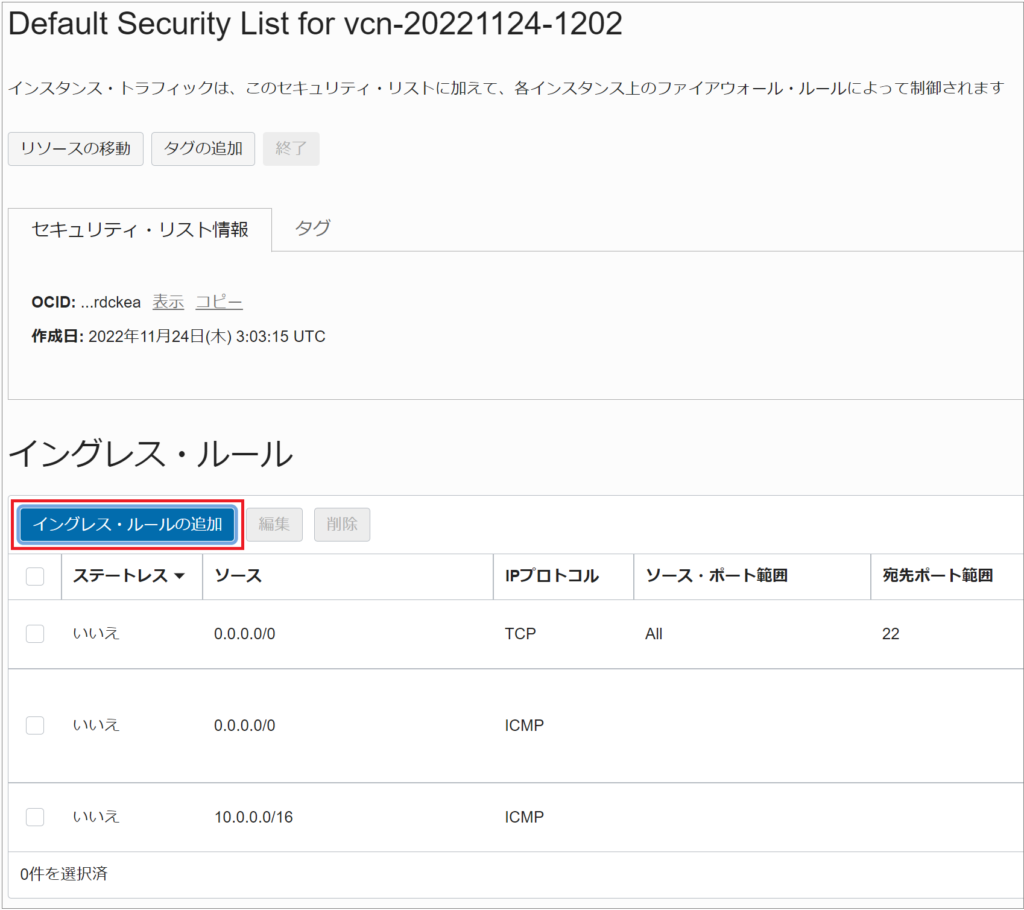
下の画面の赤枠のところを入力値表を参考にして入力します。
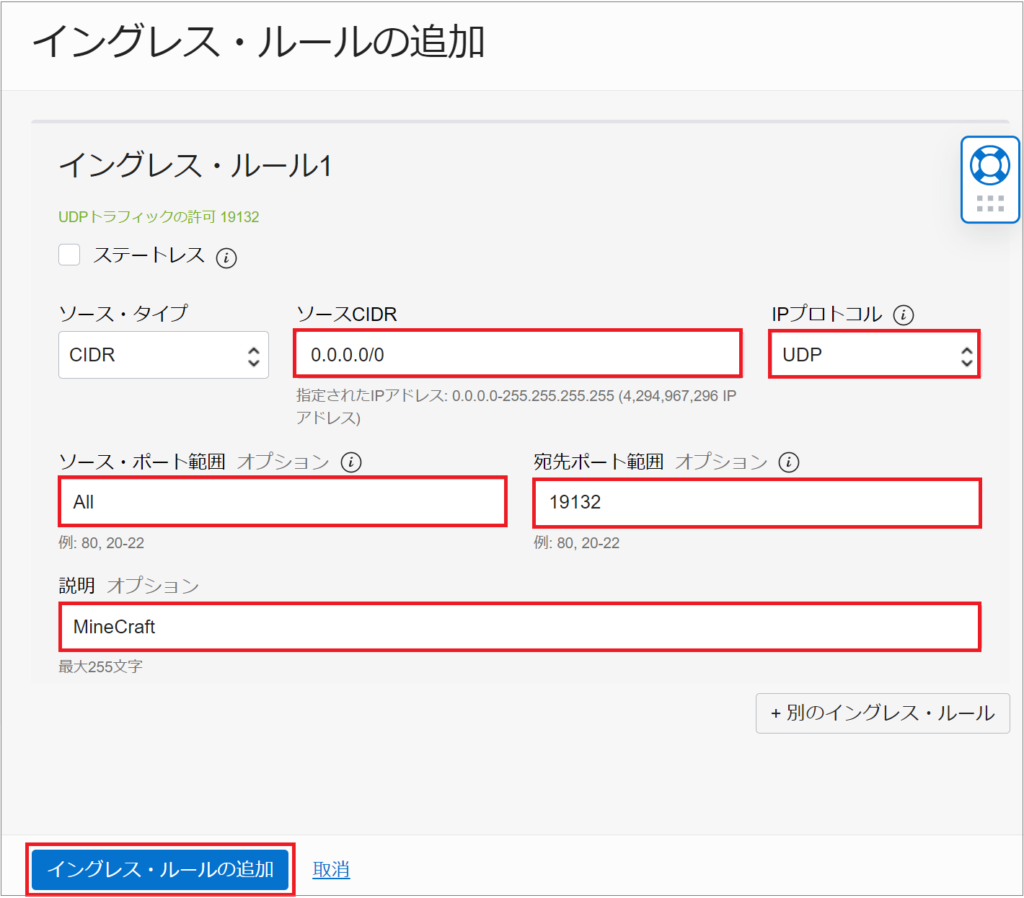
| 項目 | 値 | 項目 | 値 |
|---|---|---|---|
| ソースCIDR | 0.0.0.0/0 | IPプロトコル | UDP |
| ソース・ポート範囲 | All | 宛先ポート範囲 | 19132 |
| 説明 | MineCraft |
最後に「イングレス・ルールの追加」ボタンを押下します。
以上で完了です。